XT250 Motorcycle Rack
The original idea for this rack was not mine. I found an article on building
a PVC rack on www.xt250reports.com. I built that rack and decided there were some easy changes that I could make
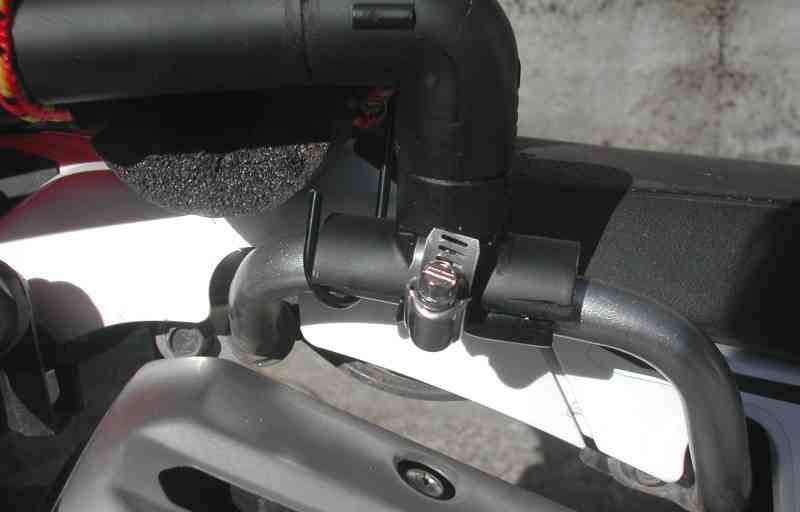
which would make the rack better. Here is the rack with the pieces I added near the bottom. They inlcude two PVC
"T"s, two pipe clamps, two pieces of rubber hose, and about 6" of PVC pipe.
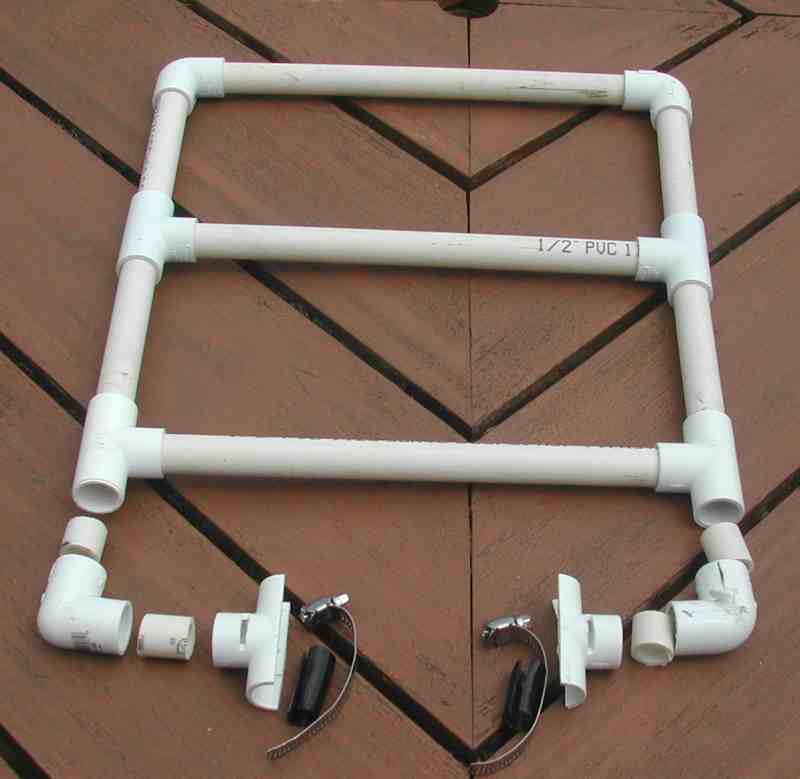
The only real addition is the connection method to the bike. I wanted a rack that could be removed very quickly but it needed
to be connected more solidly then using bungy cords. The two handles on each side of the bike are the connection points but it does not
stop you from using the handles. The only custom part of the rack is the to "T"s. I used a saw to cut off the bottom part of each "T".
The same saw was used to make a slot in each side of the "T" for the hose clamp to go through. Here is a picture.

I built the top part of the rack first and then added the connections points. The small rubber hose pieces are put over the handles
to keep the pipe clamp from scratching the handles. You get one chance to glue so make sure you have
all the angles figured out before you start. PVC is cheap so if you do make a mistake, it should not be too hard to fix it.
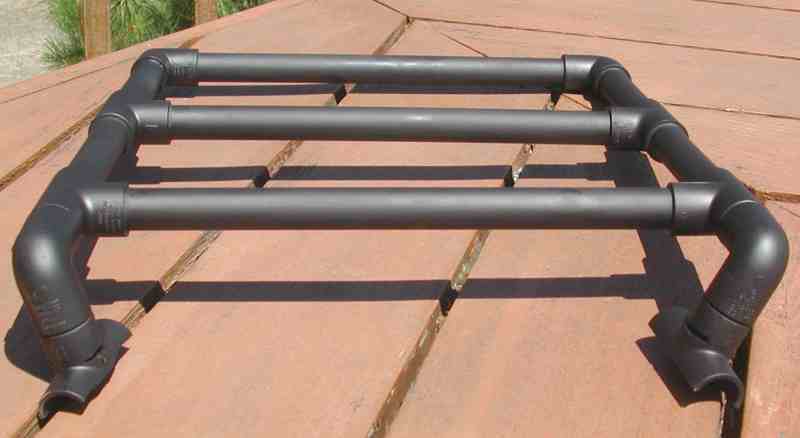
Now lets look at it on the bike.
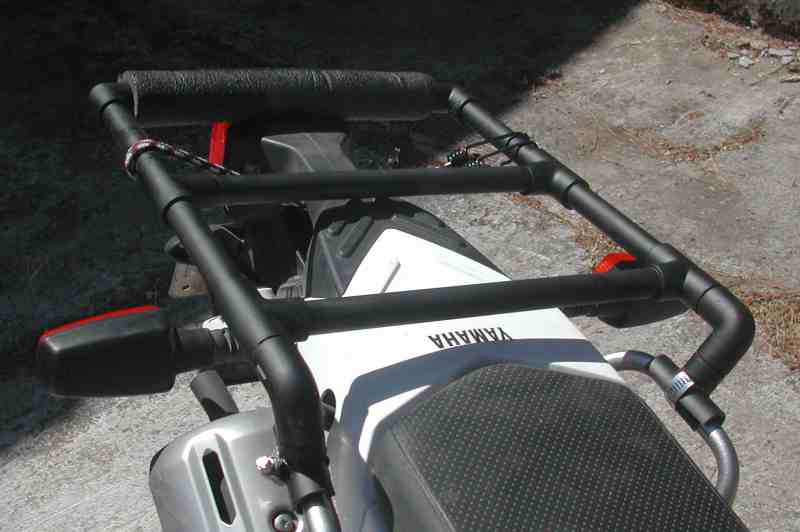
Here is another angle.
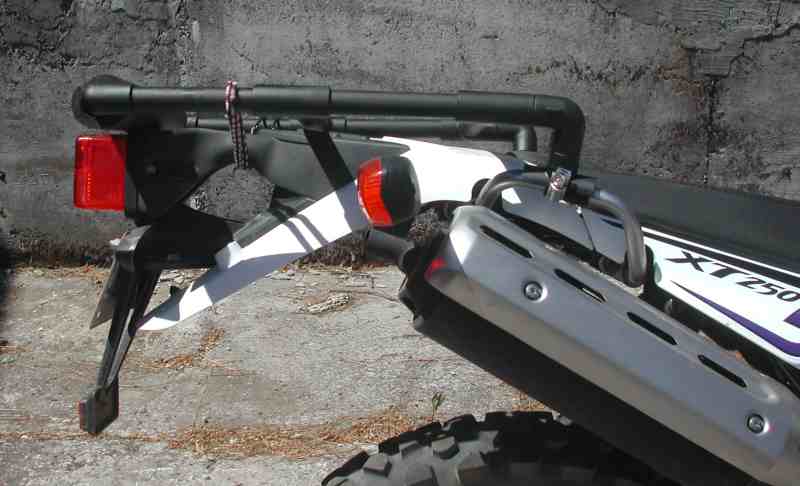
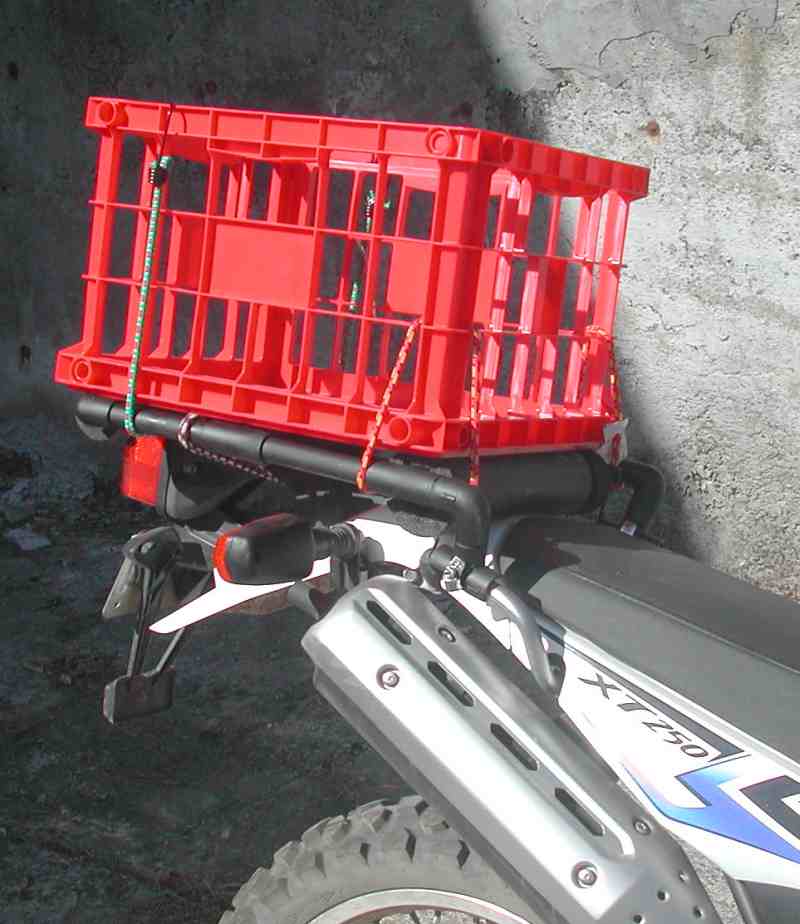
We take this bike to Baja and it is often used for more than trail riding. One of those other jobs is to do the shopping. It is
hard to bring back the food in plastic bags. I wanted a box that could be put onto the bike quickly and them removed. If you are riding
a trail and need to get off the bike quickly, the box is very much in the way. I found that the plastic box slides around some on the PVC
rack but if you put some pipe insulation over the pipes it works much better. Here is a picture with the box.
A closer view of the connection point.
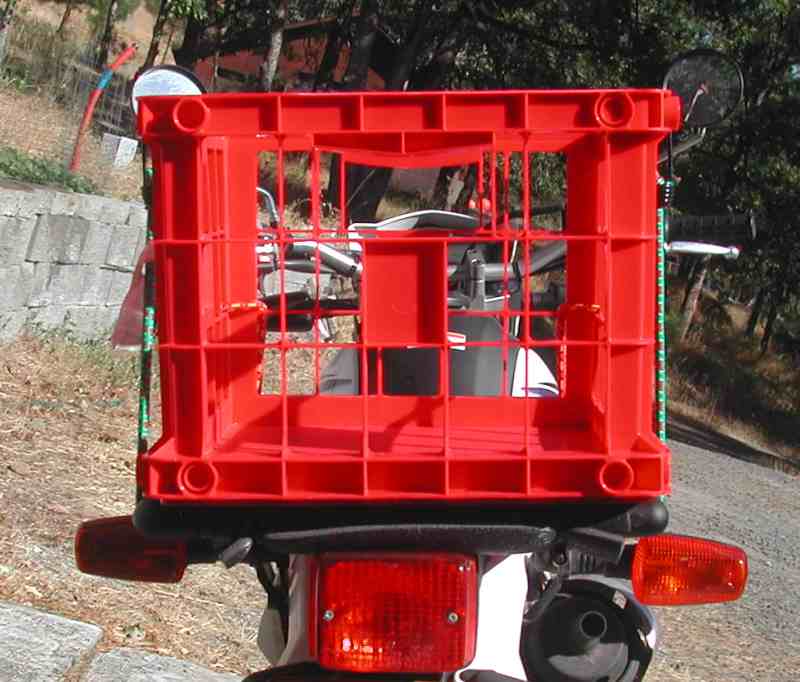
All of the parts can be purchased at Homedepo except of the red plastic box. I purchased that at Office Depo. Here is a picture
from the rear.
 Back
Back


 Back
Back